The Panasonic JS relay is a popular choice among electrical engineers and technicians due to its reliability and durability. However, like all electronic devices, the JS relay may eventually require replacement. This article provides a comprehensive guide on how to replace a Panasonic JS relay, ensuring that your electrical system remains functional and efficient.
**Introduction**
The Panasonic JS relay is widely used in various applications, including industrial automation, home appliances, and automotive systems. These relays are known for their high-quality construction and robust performance. However, over time, the relay may fail due to wear and tear, electrical issues, or environmental factors. In such cases, replacing the Panasonic JS relay is essential to maintain the integrity of your electrical system.
**Understanding the Panasonic JS Relay**
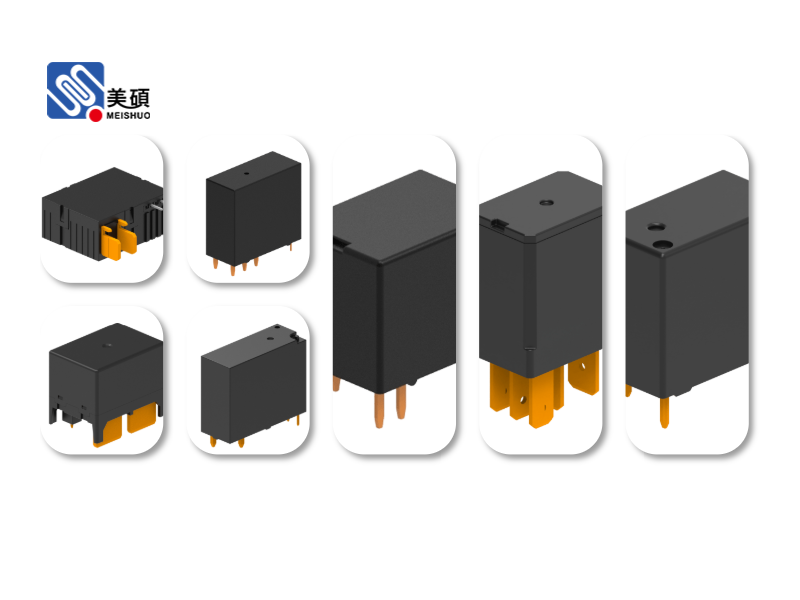
Before diving into the replacement process, it’s crucial to understand the components of the Panasonic JS relay. The JS relay typically consists of the following parts:
- **Coil**: The coil is responsible for energizing the relay, which in turn closes or opens the contacts.
– **Contacts**: The contacts are the electrical connections that switch the circuit on or off.
– **Base**: The base is the main body of the relay, providing support and housing for the coil and contacts.
– **Mounting Holes**: These holes allow the relay to be mounted securely to a circuit board or panel.
**Identifying the Right Replacement**
When it comes to replacing the Panasonic JS relay, it’s essential to choose the right replacement part. This involves identifying the specific model and specifications of your original relay. You can find this information on the relay itself or in the technical documentation of your electrical system.
Once you have identified the model, you can search for a compatible replacement relay. It’s important to choose a relay with the same voltage, current, and contact ratings as the original JS relay to ensure proper functionality.
**Replacing the Panasonic JS Relay**
Now that you have the necessary information and replacement relay, let’s go through the replacement process:
1. **Power Off**: Before beginning the replacement, ensure that the electrical system is powered off to avoid any electrical hazards.
2. **Remove the Old Relay**: Carefully remove the old Panasonic JS relay from the circuit board or panel. This may involve unscrewing the relay or disconnecting any cables connected to it.
3. **Prepare the Replacement Relay**: Inspect the replacement relay to ensure that it is free from any damage or defects.
4. **Install the New Relay**: Align the replacement relay with the mounting holes and secure it in place. If necessary, reconnect any cables or terminals.
5. **Power On**: Once the new relay is installed, power on the electrical system and test the relay to ensure that it is functioning correctly.
**Preventive Maintenance**
To extend the lifespan of your Panasonic JS relay and minimize the need for replacements, it’s essential to perform regular preventive maintenance. This includes:
- Checking the relay for signs of wear or damage.
– Ensuring that the relay is operating within its specified voltage and current ratings.
– Keeping the relay clean and free from dust and debris.
**Conclusion**
Replacing a Panasonic JS relay is a straightforward process that can be completed with the right tools and information. By following this comprehensive guide, you can ensure that your electrical system remains functional and efficient. Remember to choose a compatible replacement relay and perform regular maintenance to extend the lifespan of your JS relay.
Leave a Reply